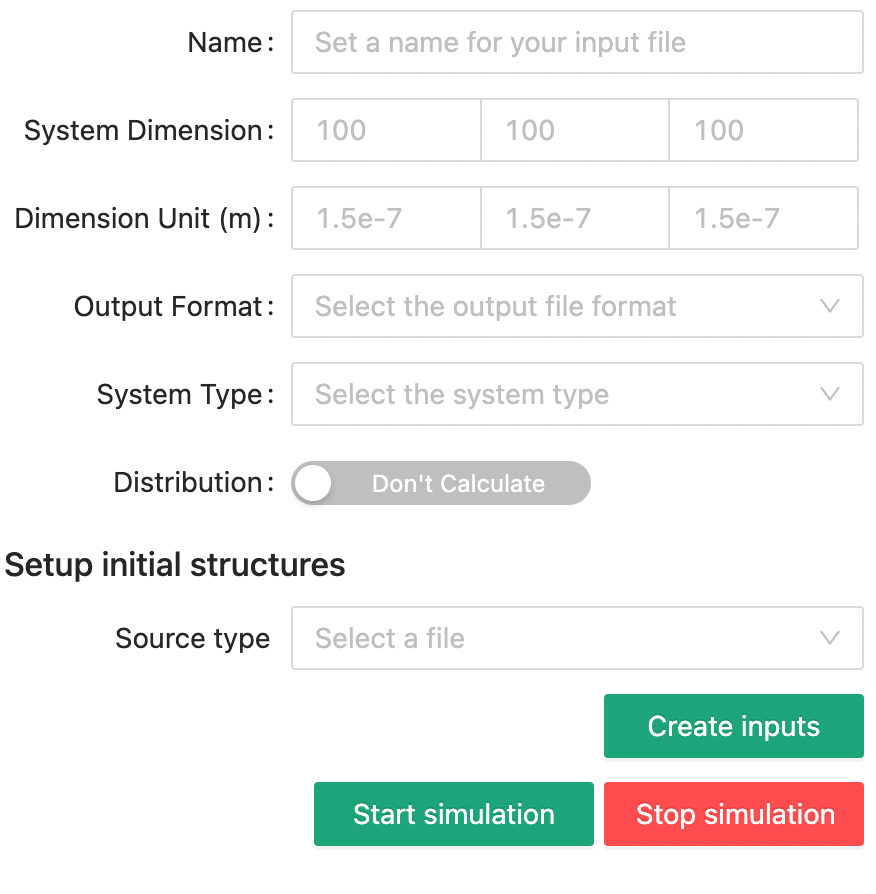
Appearance
GUI Input

The input part takes two responsibilities:
- guide you through the necessary parameter input and create the an input.xml file
- start a simulation or kill an existing one
Create input.xml
input.xml
All simulations must have an input.xml file which the core calculation program will read and process. In fact, you can manually create an input.xml file to feed into the calculation program without the help of the graphical interface.
input.xml, as the file extension indicates, is just a normal xml file, so you will see multiple levels of elements in this file with the root element called input. Also to make things simpler, there is no attributes for any of the elements.
The input.xml file looks like this,
xml
<input>
  <name>...</name>
  <dimension>...</dimension>
  <system>...</system>
  ...
</input>
The rules and contents of this input.xml file will be introduced in the following page, so stick around.
Enter values and export input.xml file
Please fill the input part of the GUI to set values for the input.xml file. Besides from filling every blank manually, you can also import previous input.xml files or load example files within the software.
- Click File -> Import in the menu, and select the input file that you want to import. Notice, here the file name does not have to be input.xml.
- Click Examples in the menu, and select one example from the list. After loading these files, the blank spaces will be popped for you, and you can click the Create inputs button to export all the values in the current GUI. Though, you can export to any file name that you want, but before you can start any simulation, you must export a file named input.xml.
Start/Kill simulation
To start a simulation, simply click the Start simulation button, and the simulation output will be printed to the console panel in the lower part of the output section.
To kill a simulation before it ends, you just need to click the Stop simulation button.
Updated on 2023-03-18 at 16:45:26 -0400